


In this article, I’m going to show you how to automatically deploy your SpringBoot apps, test with Github Actions, and then, once all your tests have successfully executed, deploy to your Heroku account. Before getting started, let’s first define a few concepts:
- Heroku: Is a platform where you can deploy different kinds of projects such as Java, Ruby, PHP, Angular, React, etc. They have free tiers and payment tiers, for our purposes, we are going to use a free tier.
- SpringBoot: We should not confuse Spring with SpringBoot, the former is the framework which is composed of several modules, persistence, web development, dependency injections and much more. The latter is an extension of Spring that helps us create Spring apps quickly and have by default certain behaviors that we can override if we need to. For this example, we are going to use SpringBoot to create a simple web app.
- Github: Is a git server on the cloud and managed by Microsoft, we can create free repositories to store our projects there. For this example, we are going to use a free Github Account to create the repository where we are going to store our project.
- Github Actions: Github provides a set of actions that can help us have a full development environment to deploy our project, execute tests, create pipelines or workflows and execute it on different environments such Linux, Windows or even MacOs. For this example, we are going to use it to execute our tests.
- CI/CD: Continuous integration and continuous delivery are two DevOps concepts that help us to have better control of the quality of our development process, execute tests, have automatic deployments, etc. In this example, we are going to see how to automatically deploy our code once the tests have been executed successfully using all the technologies mentioned above.
Create or use an existing project
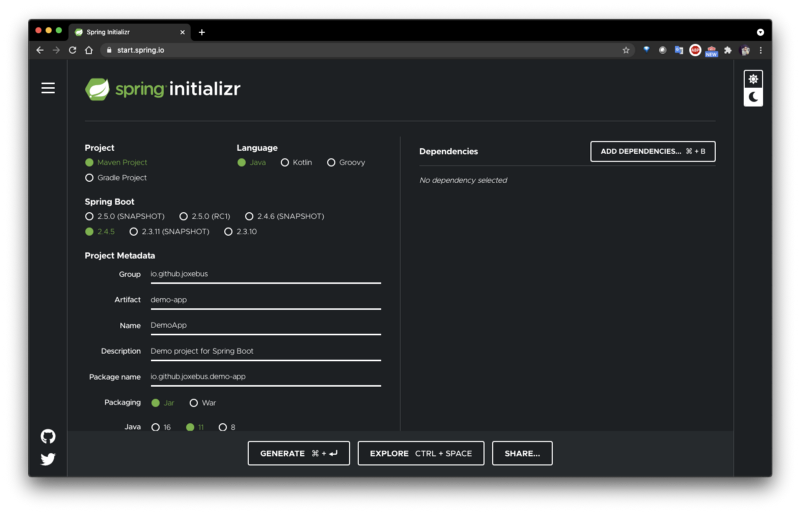
First, you need to create or use an existing SpringBoot project. if you don’t have a SpringBoot project, then go to this page: https://start.spring.io/
Create a project on Github
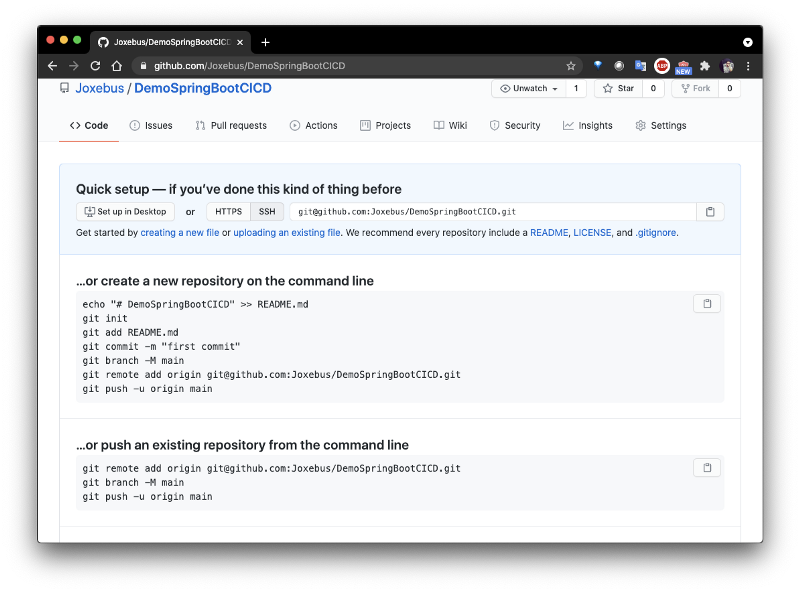
Go to your GitHub account and create a new project, follow the instructions and push your project here.
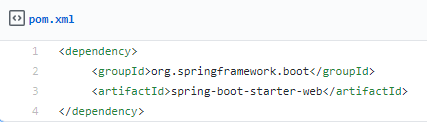
Add a controller to your application. If you don’t have a controller in your application, then first you need to add the dependency for Spring Boot web to your pom.xml file:
Then, you need to create a controller to return a string when accessing the root of your project.
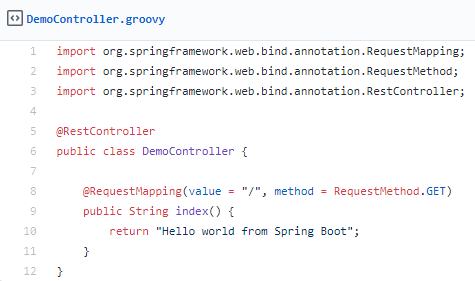
This is the result of doing that:
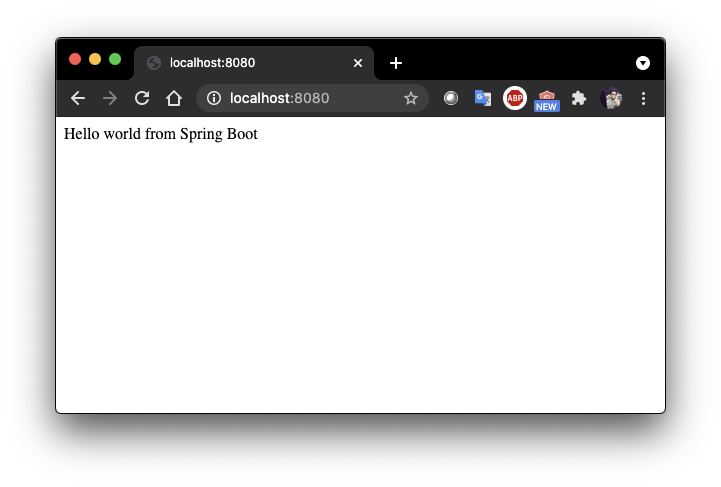
Push your changes to your GitHub project.
Configure GitHub Actions
We need to create the following file in our project to configure Github Actions .github/workflows/maven.yml and then we need to put the following configuration on our maven.yml
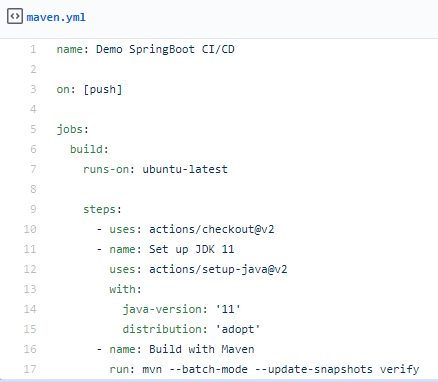
Push this change to your repository and automatically you will see that Github Action triggered.
Create a project on Heroku
Open your Heroku account and create a new project, if you don’t have an account you can create one for free here: https://signup.heroku.com/On your Heroku dashboard, select the option New > Create new app and put the name you want.
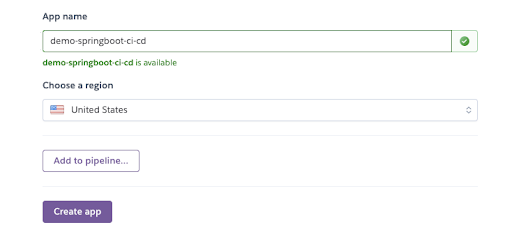
Create a new app on Heroku
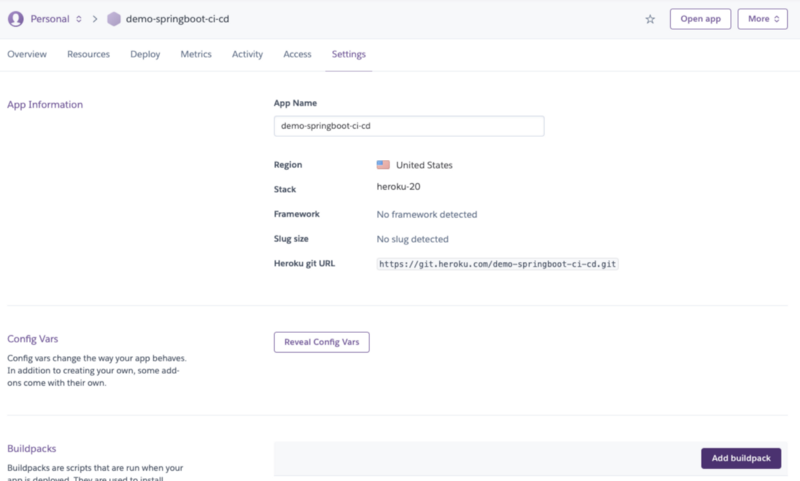
Once your project has been created, we need to define the build pack for Maven Java applications, first you are going to see a screen like this on the settings tab.
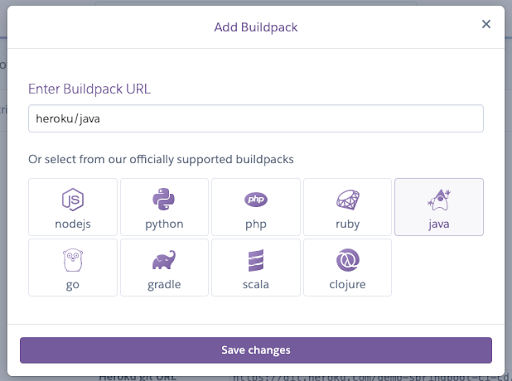
Click on the Add buildpack button and select Java and save the changes.
Now click on the Reveal env vars button, here we need to configure a variable that will be taken by Heroku to build and deploy our application with maven.Add the env variable MAVEN_CUSTOM_GOALS then set the value to clean package should look like the image below.

Configure your project to work with Heroku env variables
Now that we have our project created on Heroku, we need to create a Procfile in our spring boot project, this is because with that we tell how to run our application once it is created.

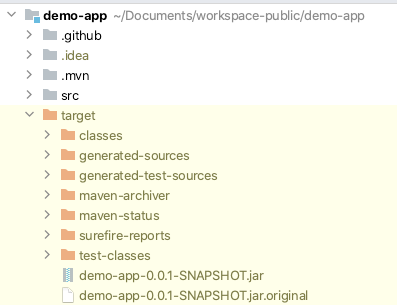
Your Procfile should contain the script to run your application in this case we are going to deploy our artifact that is generated after performing a package of our project, this is the jar generated on the target folder with name <artifactId>-<version>.jar
We need to create a YAML file for the Heroku profile, this file should be called application-heroku.yml as we can see in the previous example, this is the name of the spring active profiles that we are sending in our Procfile, inside this YAML file this is the configuration that we must set:
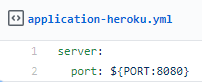
The PORT is a variable provided by Heroku for our project so we don’t need to define this env var, once you finish with this configuration, the Procfile and application-heroku.ymlBy default Heroku uses Java 8 to compile your project if you are using a higher version you need to create a system.properties file and setup the Java version there like this:

Add the files to your git project and push to GitHub you will see that a Github Action automatically starts, this will happen with every new commit you push to your repository.
Link your GitHub project with Heroku and automatically deploy
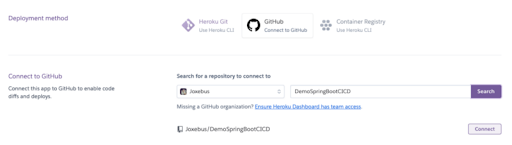
Now is time to link our projects and deploy only on successful executions of the Github Action, to do this, go to your Heroku application, and select the Deploy tab, under deployment method, select GitHub and give the permissions with your Github Account to connect.Search your project and click on connect.
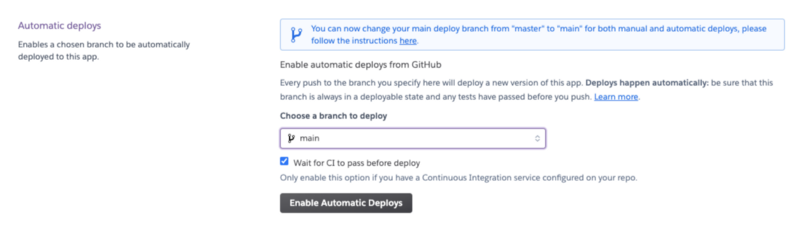
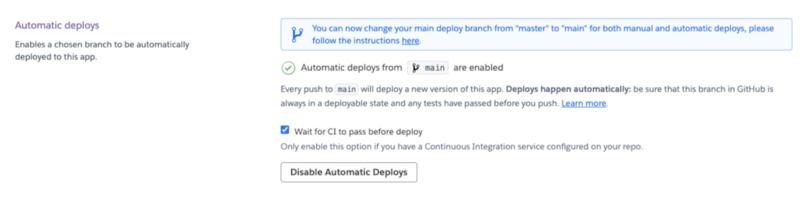
After selecting your project, a new section will appear, in this case, the section Automatic and Manual deployment. We are going to select Automatic and our only branch which is main but in case you have a specific branch, for example, deploy then you can select that one. This means that every time that branch has a new commit and the test has been executed successfully then the application will be deployed with no need for doing a manual deployment.To finish just click on the Enable Automatic Deploy and let the magic begin!
If your project doesn’t deploy automatically after setting up this configuration, you can run manually the first deployment by clicking on the button Deploy Branch on the section Manual Deployment and next time your branch has a new commit then the deployment will be automatic.

Verify your project has been deployed
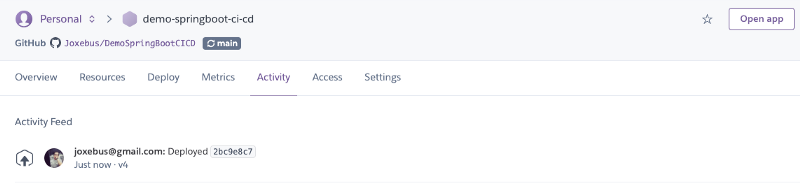
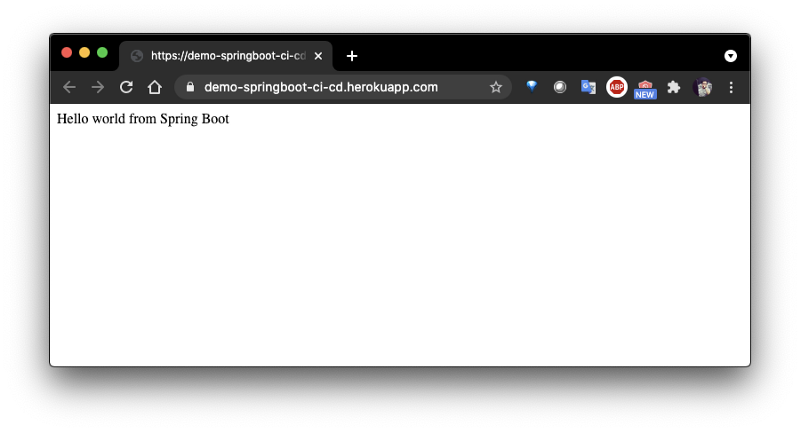
In your Activity tab on your Heroku project, you will be able to see if your project has been deployed successfully. If you see that your project has been deployed, then you can click on the button Open app to see the results.
You should be able to see something like this, in the case of my applications this is the URL https://demo-springboot-ci-cd.herokuapp.com/
To see the full example of this app you can visit this Github repo: https://github.com/Joxebus/DemoSpringBootCICD

.png)
